Installation
Here are the steps to install the Plurilock AI application
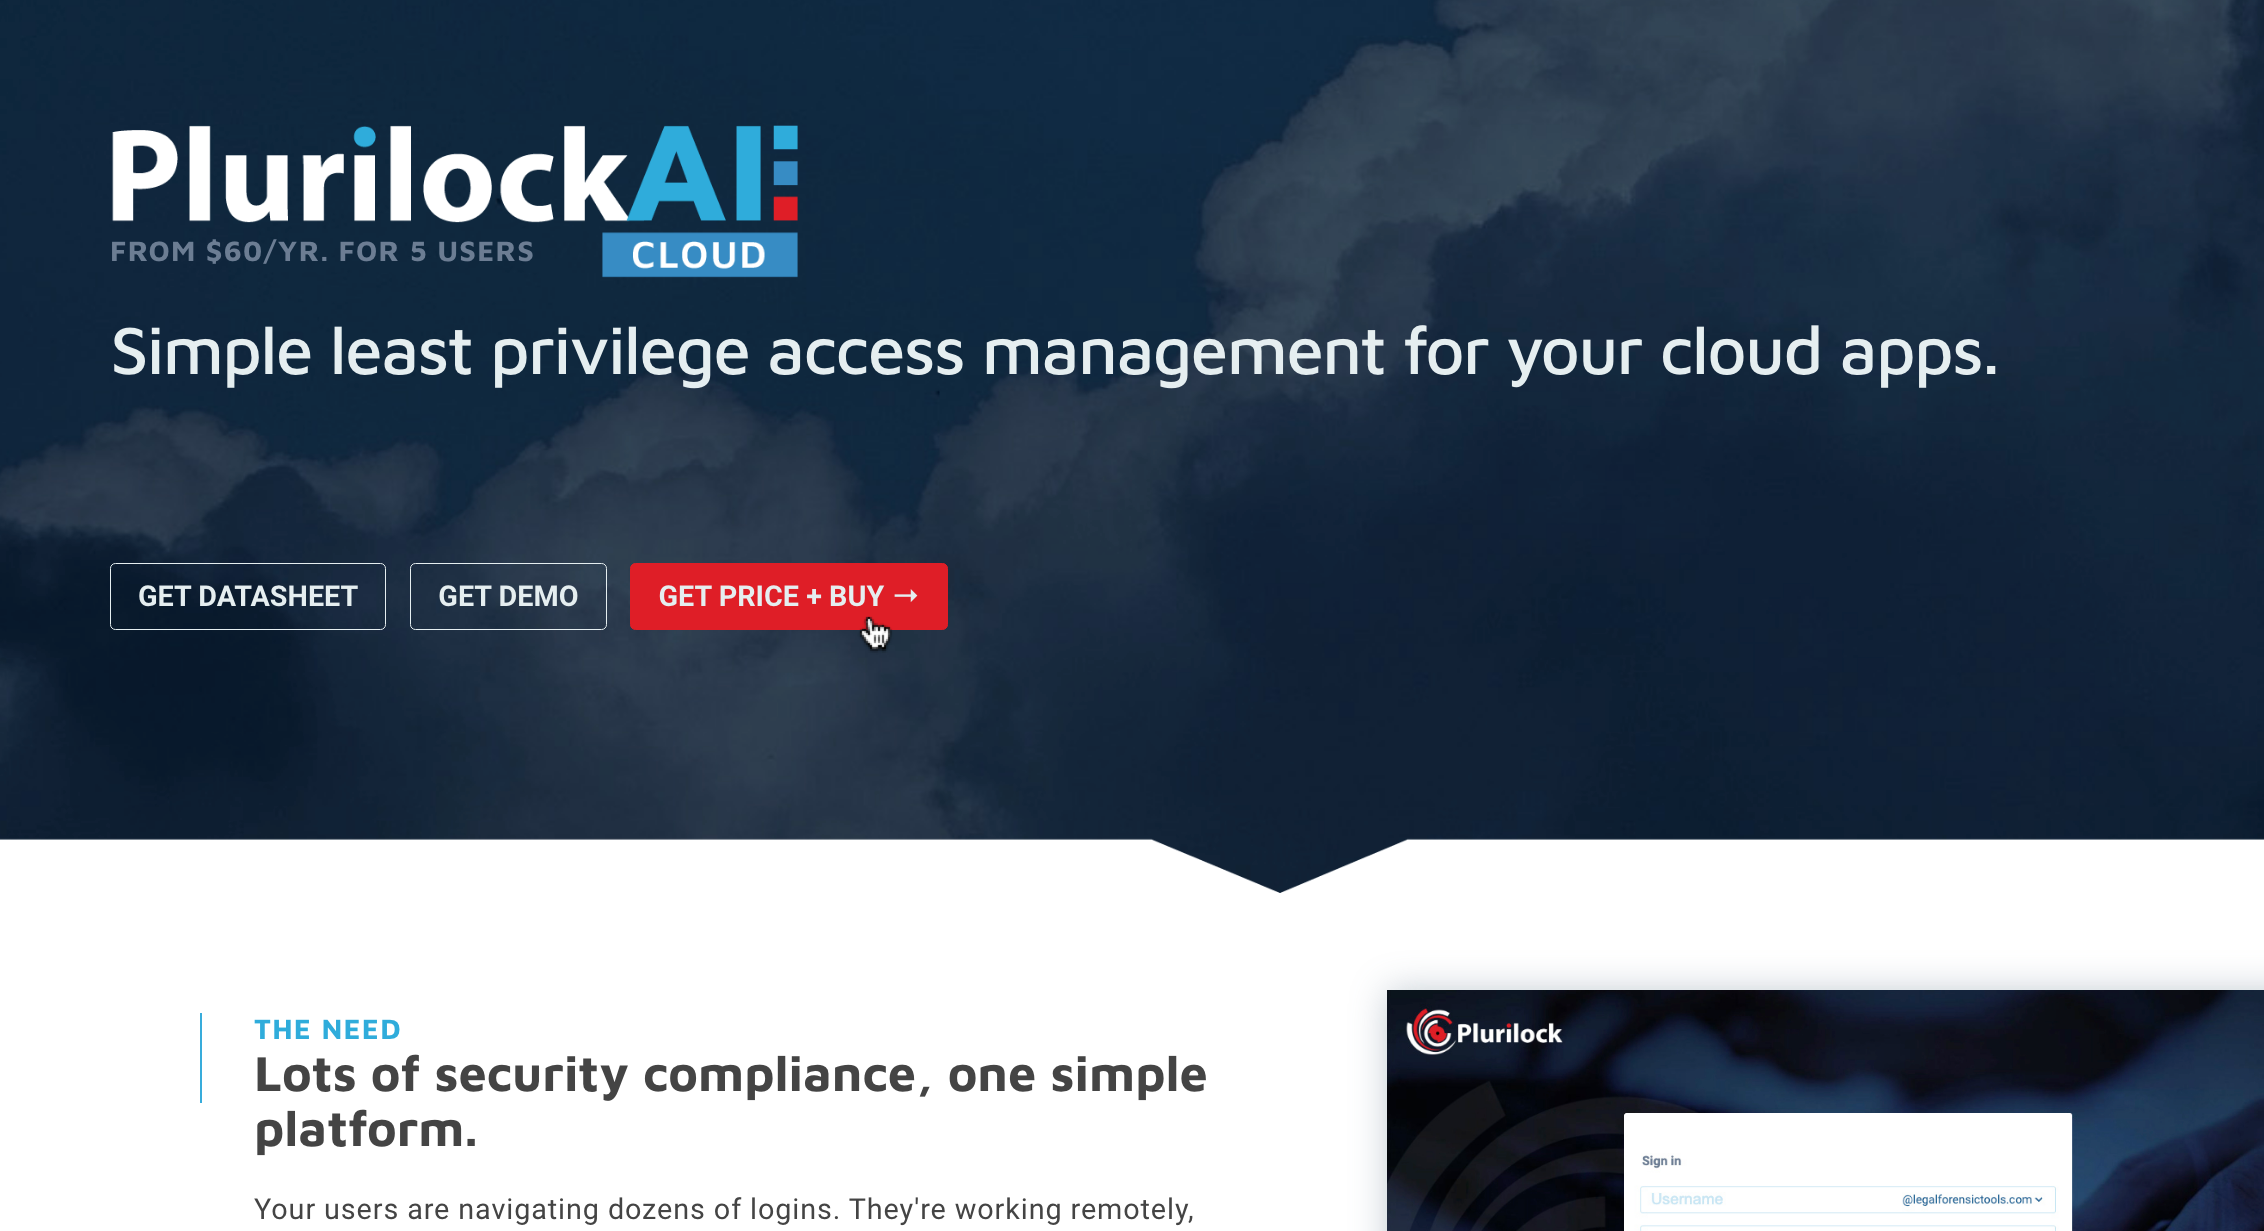
To buy, visit plurilock.com/ai-cloud/ or plurilock.com/ai-dlp/

- Complete the checkout flow, enter payment details, and wait to receive confirmation email.
- Once email is received, clink the link for service activation https://register.ssoone.com/
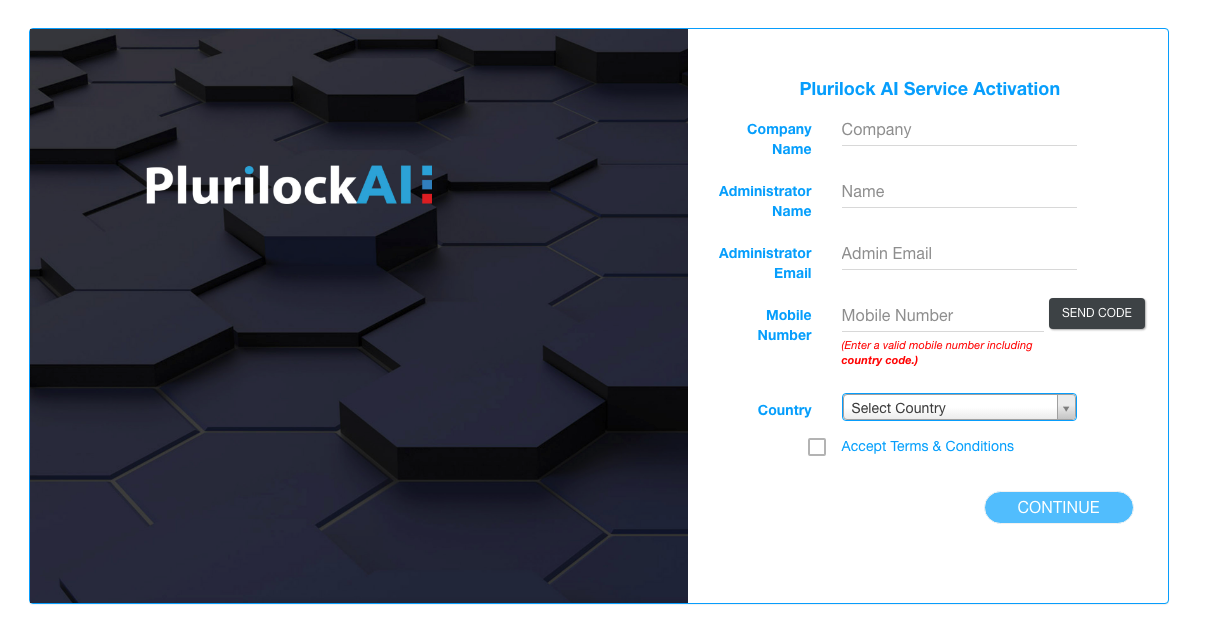
- Fill out the form to set up your product

Plurilock AI Service Activation
- Please read the terms and conditions and then click accept.
- The admin needs a valid mobile number with country code to get the OTP
- After entering OPT, the mobile number is verified
- Once the registration is successful, the admin receives a registration email.
- The admin must click on verification link sent via email to verify the account
- Once the account is verified, the admin is directed to the “activate account” page.
- To verify the account, the admin must add a password, custom URL and click on “VERIFY ACCOUNT‘
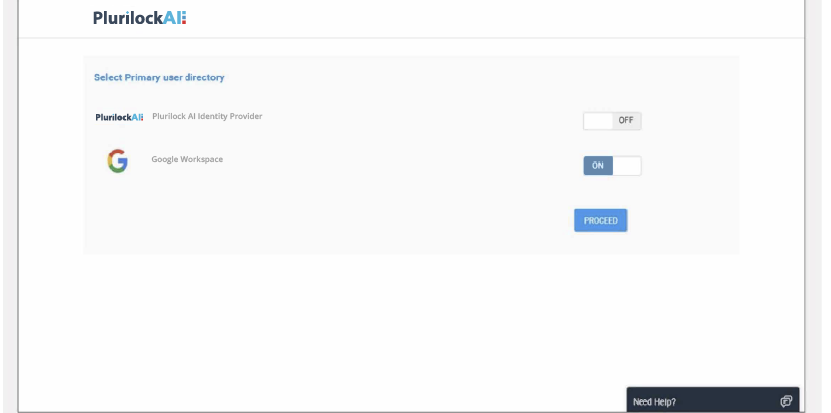
By default, 'Google Workspace’ is selected as the primary user directory, if any other directory needs to be used, it can be selected as well.
Next click on ”PROCEED“
Note: If Google Workspace is disabled or "OFF”, then the admin will be directed automatically to step 7

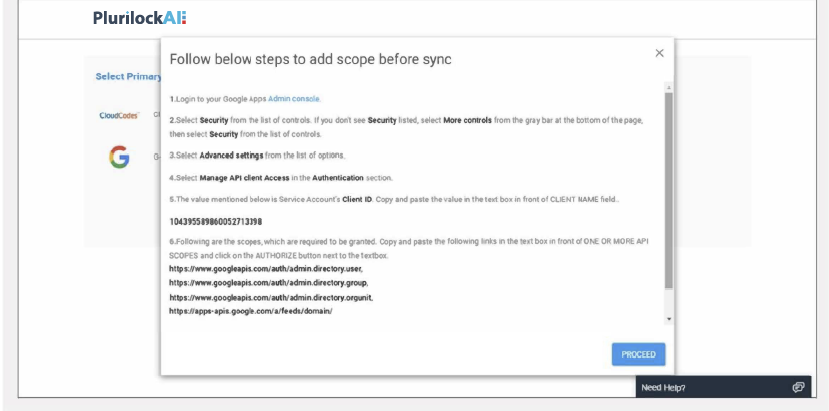
- In Google Workspace, the admin should follow the defined steps (example shown in the image) to add the scope before the sync.
- Once the steps are completed, click on “PROCEED”

- The installation of Plurilock AI is now complete.
- The admin will now be directed to Plurilock AI.
- Now the admin must add user provisioning from the Plurilock AI Administrator
Was this article helpful?
That’s Great!
Thank you for your feedback
Sorry! We couldn't be helpful
Thank you for your feedback
Feedback sent
We appreciate your effort and will try to fix the article